
For our first "Make-It Monday" I thought I'd share with you how I did
this fun little set of 3x3 thank you cards......
super fast, super easy, and super cute!
Follow along here....lots of pictures, lots of pointers -
hope you like it!!
First of all, these cards only require 2 6x6 pieces of patterned paper -
they need to be double-sided papers, but if not - just use 4 different papers!
Also, you will need one 12x12 piece of cardstock for your bases,
and a couple of small embellishments, and a few stamps for your sentiments,
oh, and some coordinating ink - gotta get your fingers messy ;)
This is the template we will be following.....
you can download a FREE copy of it HERE
this fun little set of 3x3 thank you cards......
super fast, super easy, and super cute!
Follow along here....lots of pictures, lots of pointers -
hope you like it!!
First of all, these cards only require 2 6x6 pieces of patterned paper -
they need to be double-sided papers, but if not - just use 4 different papers!
Also, you will need one 12x12 piece of cardstock for your bases,
and a couple of small embellishments, and a few stamps for your sentiments,
oh, and some coordinating ink - gotta get your fingers messy ;)
This is the template we will be following.....
you can download a FREE copy of it HERE

Here's our 2 6x6 squares - due to the "time of year" :)
I'm going to do some Christmas styled TY notes - fun!!
I'm going to do some Christmas styled TY notes - fun!!

(each paper will be cut EXACTLY the same....
I'll just show you the first one!)
first cut - the vertical cut @ 3"

here they are after making the horizontal cuts
(keeping them "in order" will help with the next step)

both papers, ready to "sort" :)

be sure to print your template in color - it makes this step easier!
the pieces for the "first card"
 you can choose which pieces to "flip over"
I chose these ones..

the pieces...all "lined up" and ready to go...

pieces for "card 2"

flipped & sorted - ready to go!

pieces for "card 3"

flipped & sorted - more ready to go!!

and finally, the pieces for "card 4"

flipped, sorted - let's play!
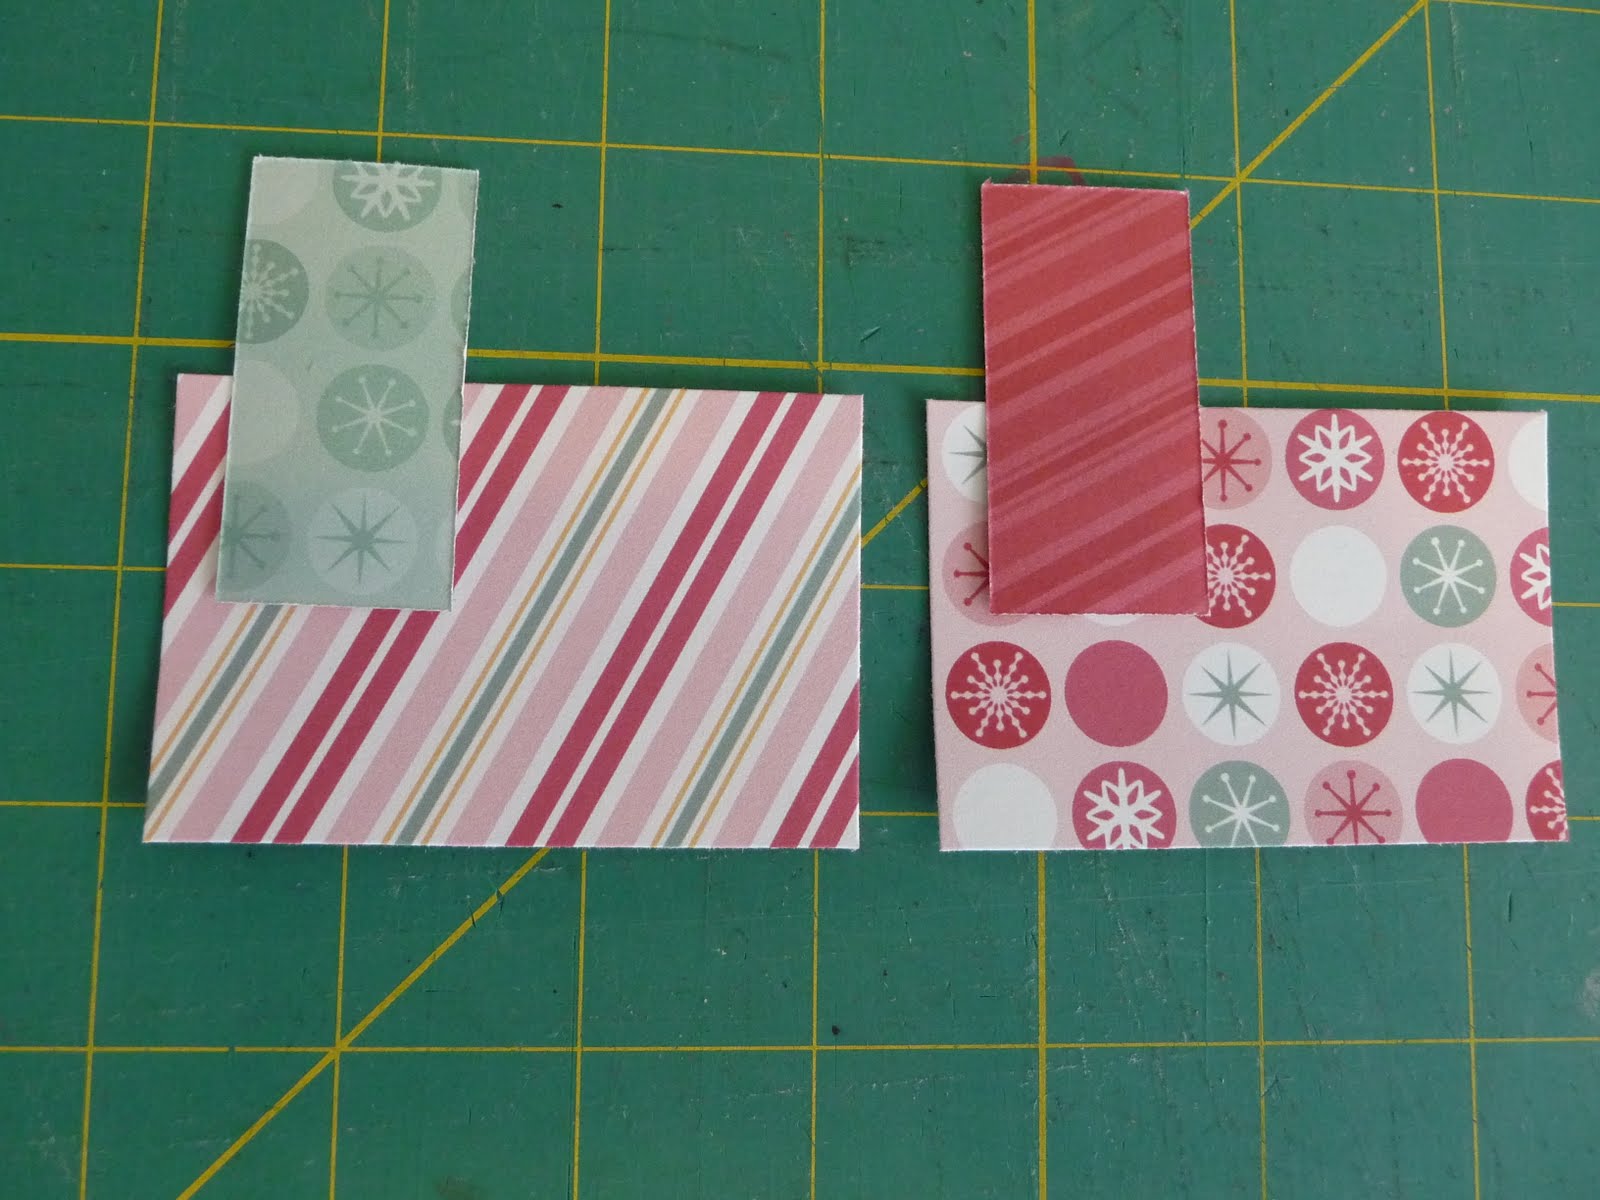
(did you notice? there are 4 card styles, but you are doing
TWO of each style, just trade the papers back & forth,
same layout, slightly different look - luv it!)
here's our 12x12 piece of cardstock, cut into 8 3x6 pieces

fold them in half, and we're ready to glue!

final prep stage - our sentiments,
I used stamps from a CTMH set - (luv it!)
having a varied set of circle and square punches
can be a lifesaver - speeds it up - love that!!
having a varied set of circle and square punches
can be a lifesaver - speeds it up - love that!!

a few minutes later - and tada! Here they are!
Cute, huh?

couple of pointers:
* I like to "ink" the edges of all my papers, and
the edges of my cards - gives it that added
"finished" look, and some "dimension"
* I used "pop-dots" on the circle & square
sentiment embellishments - more "dimension"!
* on these cards I used flowers on the 4th card
as an embellishment, before I've used buttons -
you can use whatever you want, it's All Good!
* by changing the sentiments you can easily change
these "thank you cards" into....anything!
"Happy Birthday" - "Merry Christmas" - anything :)

Remember these? From September?
This is what you end up with if you use
single-sided paper, four different styles
twice as many cards!
And really, not that much more effort!!
Enjoy - and I'd LOVE to see what you come up with!!
This is what you end up with if you use
single-sided paper, four different styles
twice as many cards!
And really, not that much more effort!!
Enjoy - and I'd LOVE to see what you come up with!!


